
How to Photograph Interior Design and Real Estate Photography with Natural Light
Have you ever wondered how to capture well-lit, gorgeous photos of a beautifully styled living room like the one below? Today we’re going to go over my top tips to do just that!
— Disclosure: I may receive a commission from purchases made via the links in this post. —

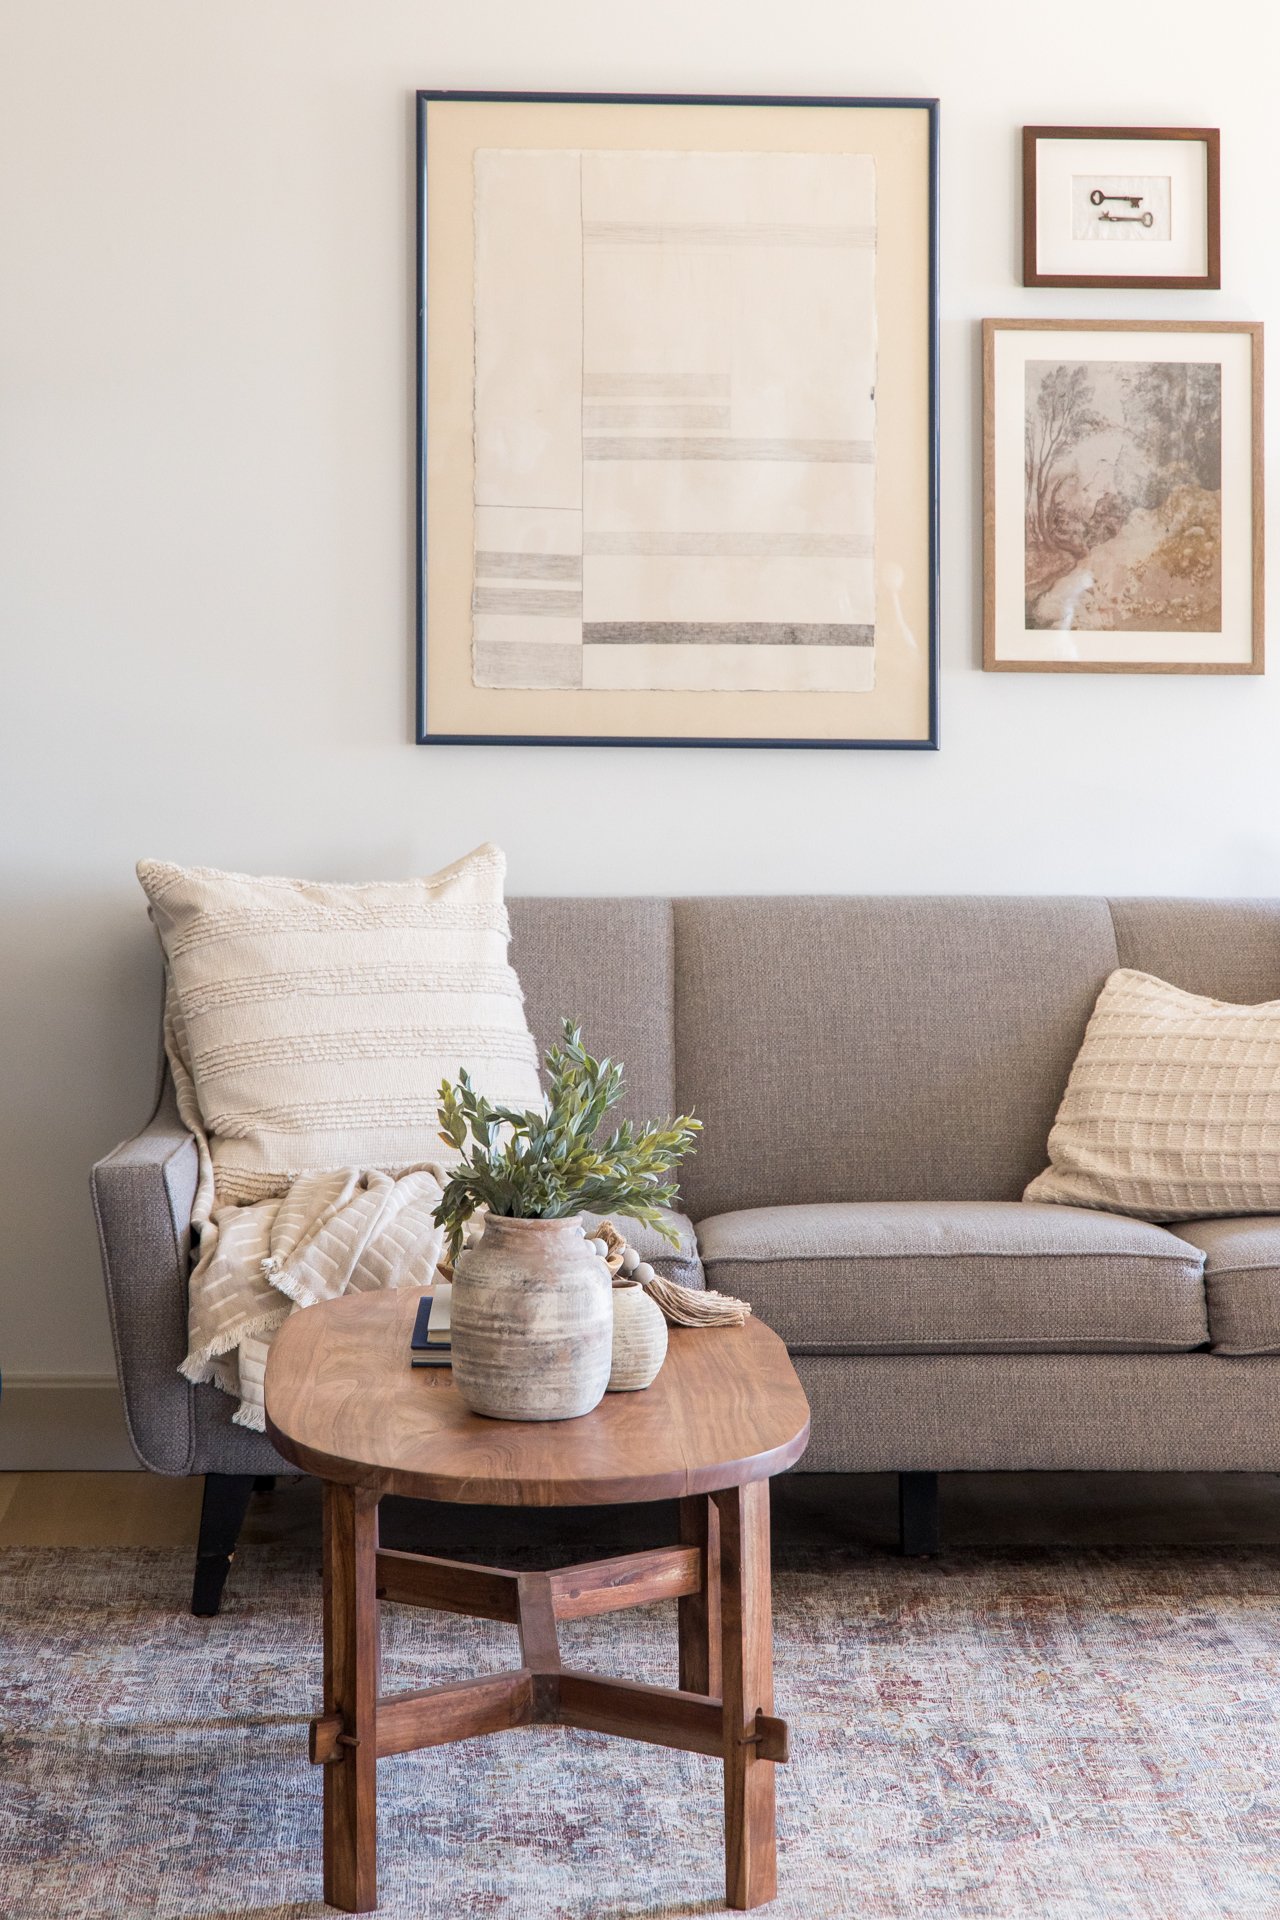
A lovely home I recently photographed with the dreamiest living room.
For six years I’ve been taking photos for real estate, interior design, and home remodeling companies. Obviously, it differs widely from portrait photography in that it’s a static subject. My main goal in capturing every space is to get it as close to reality as possible, with the ultimate goal of capturing not just how the space looks, but how it feels.
Best Gear for Real Estate Photography
However, before we talk about how I photographed this space, let’s chat about my gear besties for all interior design and real estate shoots.
Canon EOS R6 with a 24-105mm lens
Manfrotto 055 with a ball head mount.
Collapsible black and white backdrop
My Process For Photographing Real Estate & Interior Design
Now that you know what gear I used, let’s talk about my process. The very first thing I do is turn off the lights.
My goal is to have one color temperature filling the room, and since natural light and artificial light sources have different colors, I turn off all the lights, even those in adjacent rooms, so that there isn’t any spillover.
Then I open as many blinds and curtains as I can.
Once I have my camera set-up on a tripod, I set my f/stop to 8.0, my ISO to around 400, and then I’ll lower my shutter speed until I find the appropriate exposure. Typically, because of the high f/stop I’m using, I have to shoot at a pretty slow shutter speed, which is why I always use a tripod. This allows me to let in as much natural light as possible without the need for artificial light or boosting my ISO too high, resulting in a grainy photo.
My camera is normally placed at around chest height, and in an ideal world, I’d be able to back up as far as possible and zoom-in in order to compress the image and make all of the aspects of the room feel more true-to-reality and proportionate.
Photos to Get, Especially for Interior Design
Now that we’ve laid some groundwork, let’s talk about how I photographed the space.
The main photos I’m aiming for are:
Overalls (like… the whole room… not the clothing)
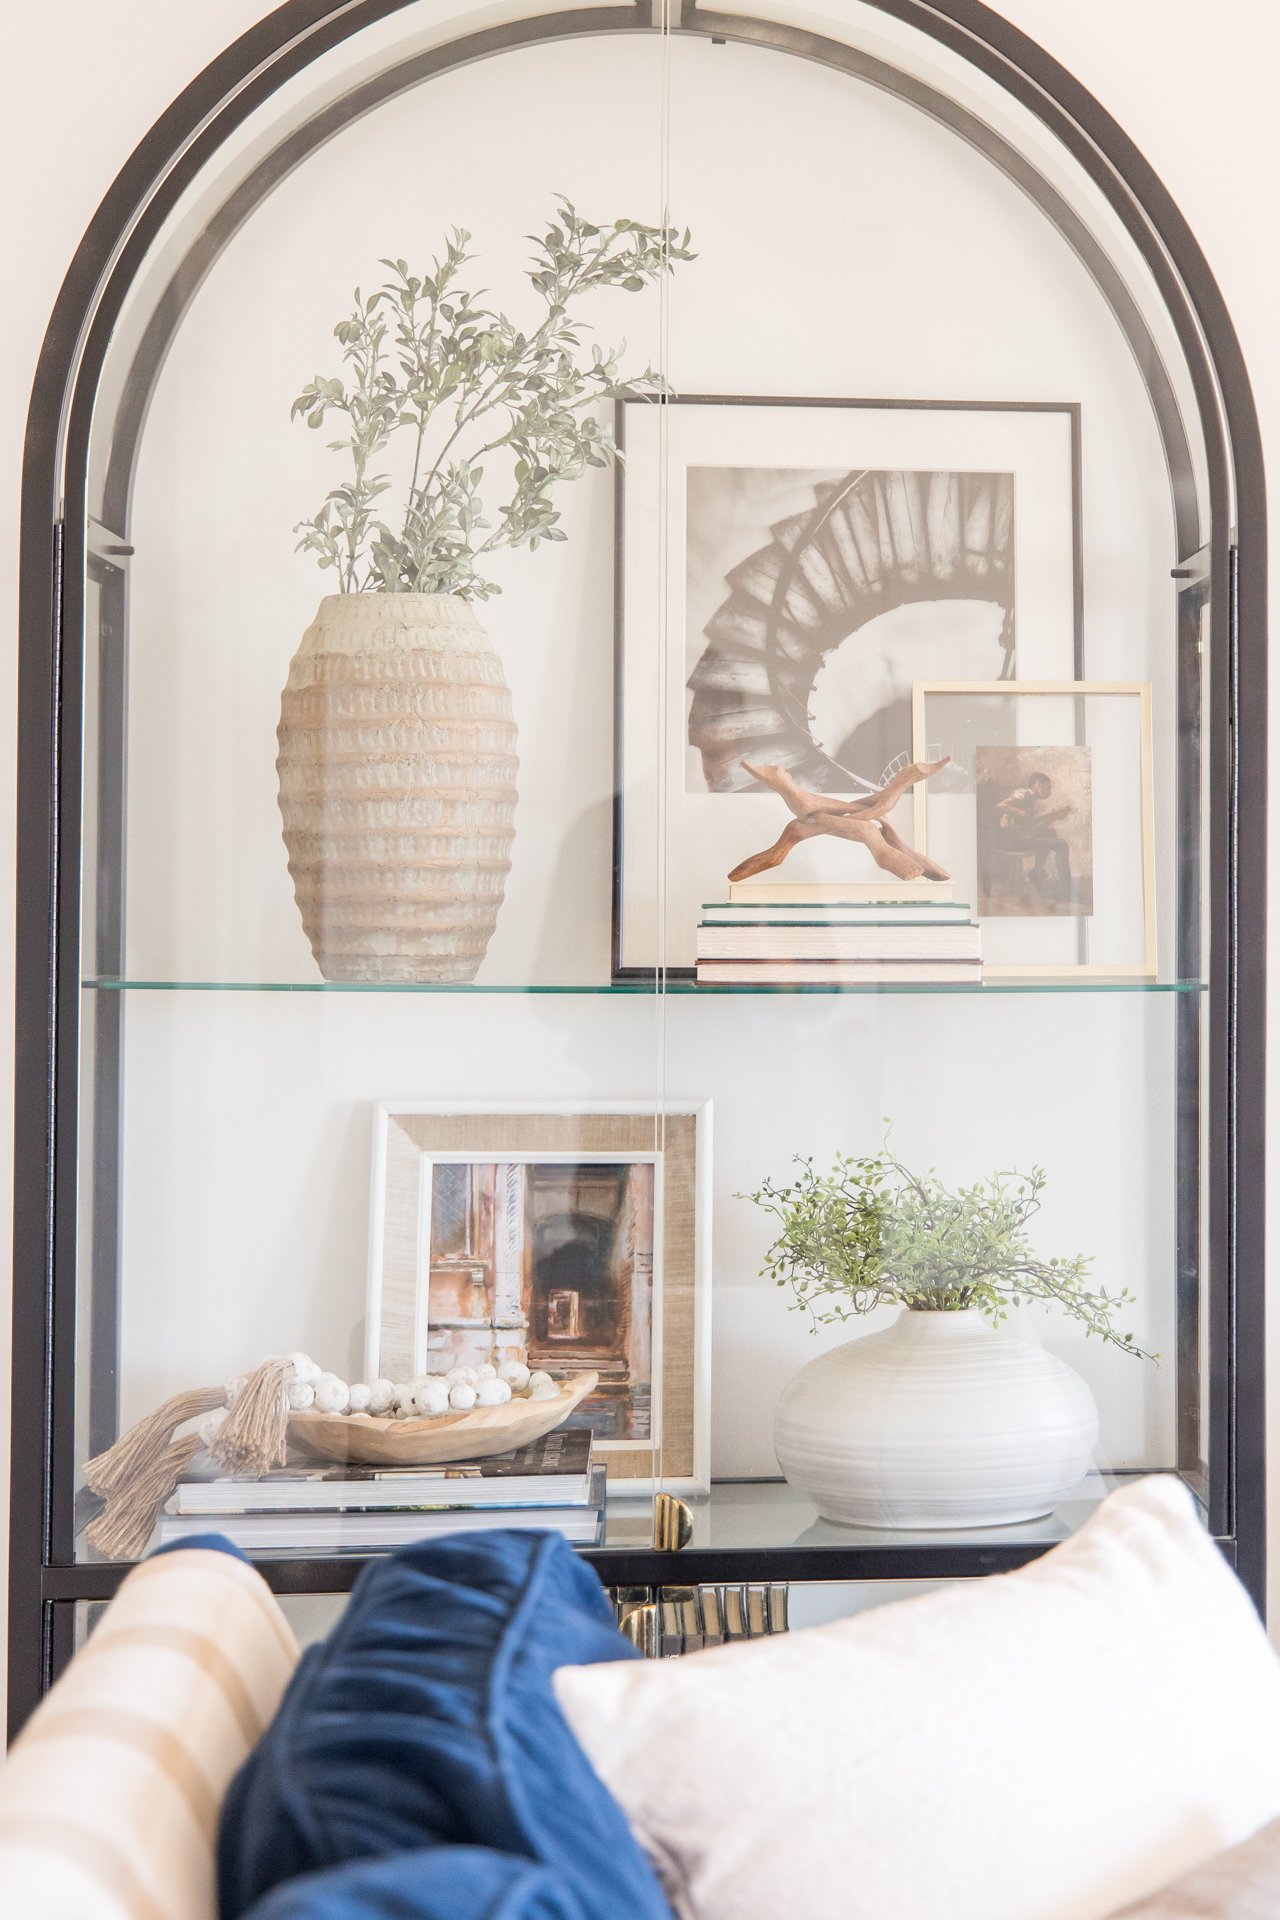
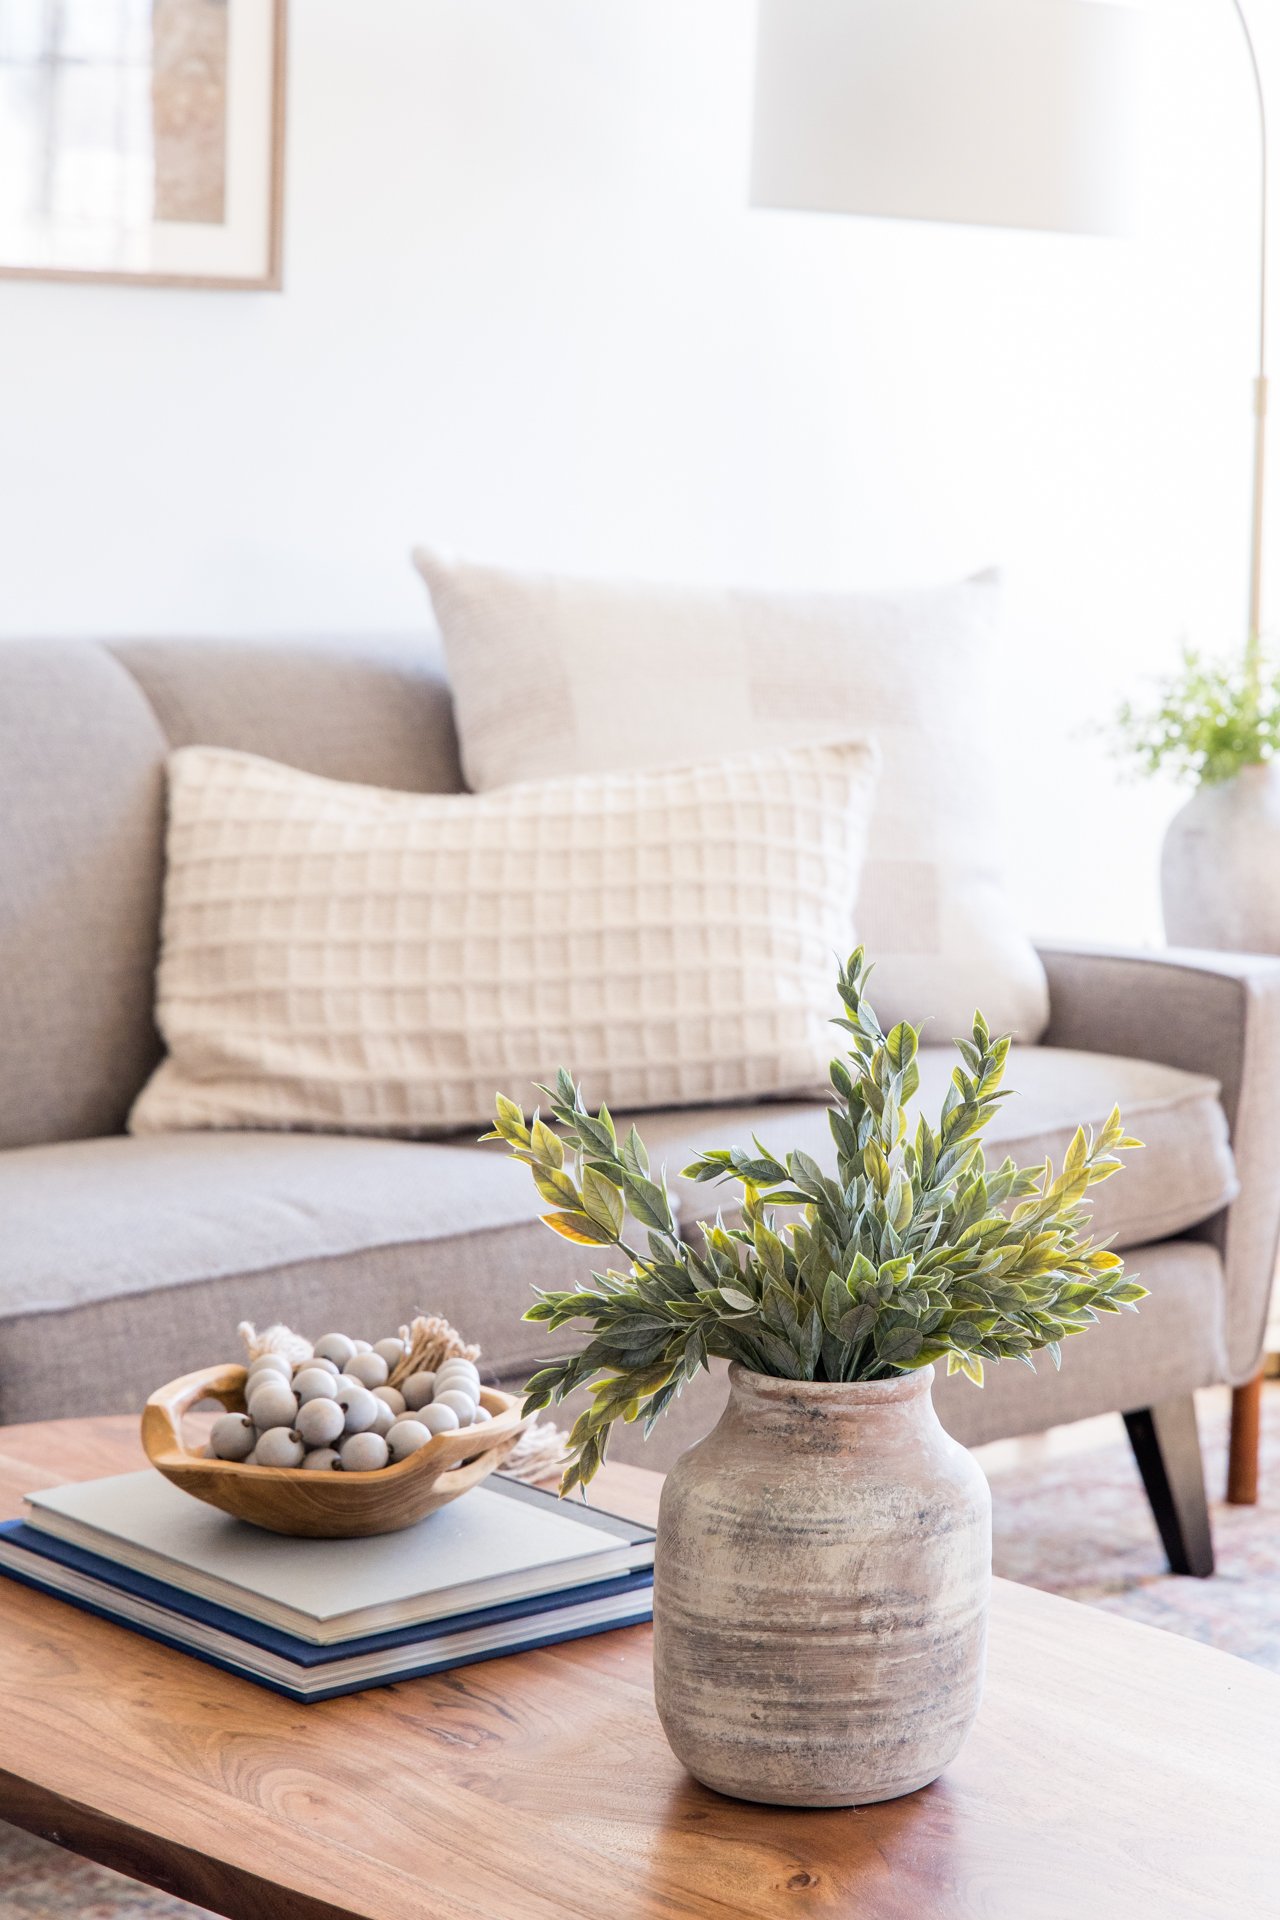
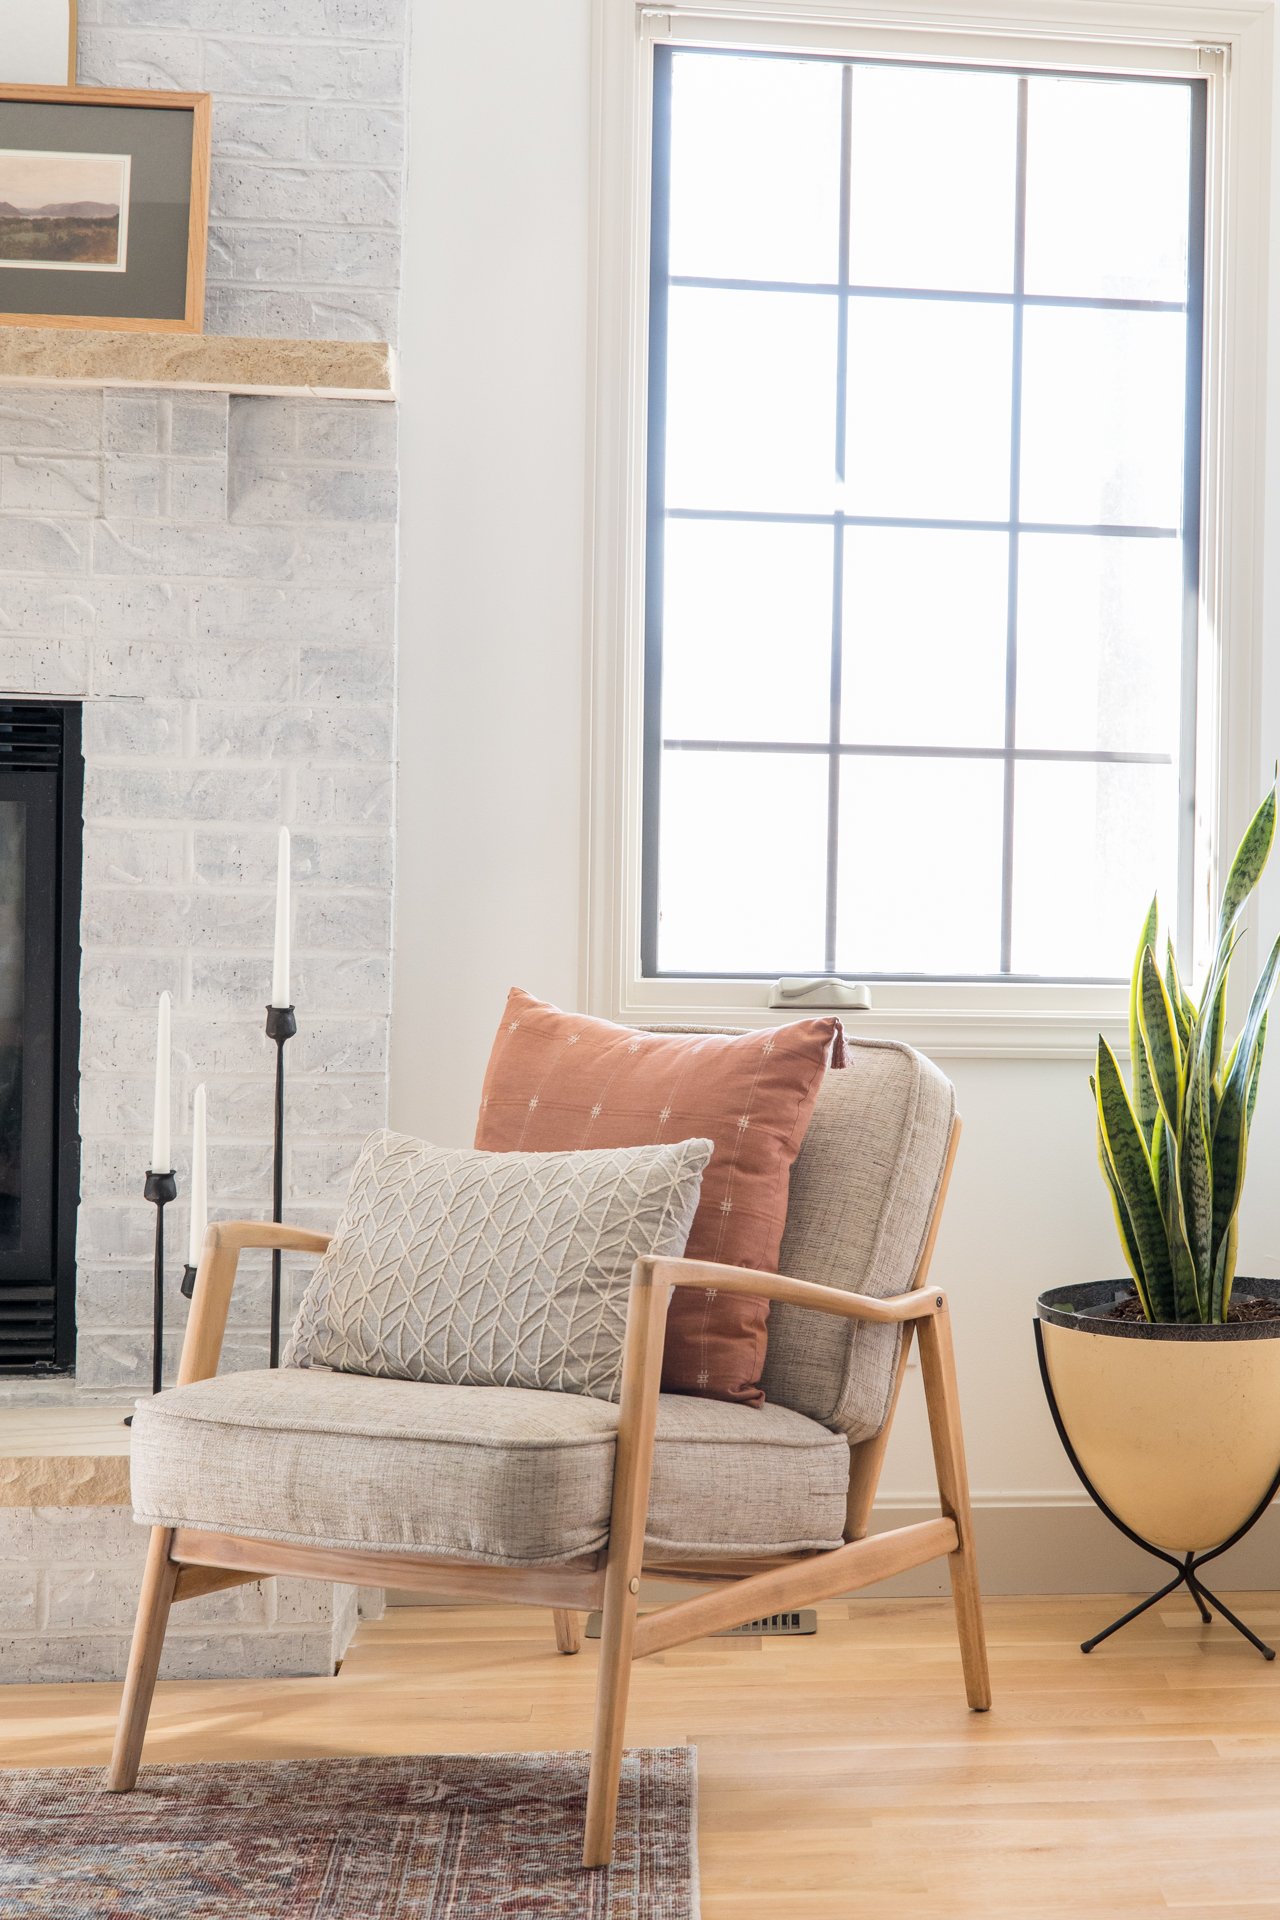
Details/Vignettes
Multiple Viewpoints
I always start with getting an overall of the room, so that I know my client has a photo showing as much of the room as possible. From there, if I see any alternate angles or details I’d like to capture and from there, as you probably guessed, I photograph them. After that, I’ll move to a different location in the room to get another perspective and repeat that process.
Once I’m finished, I might go back through the room and capture any details that I think would help tell the design story of the room and also give my client more content. Because let’s be honest, at these shoots, we’re always doing it for the gram. ;)
The process is pretty straight-forward and you can replicate it for any room you visit. The hardest part to get the hang of is composition and camera placement in the room, and that comes with practice. As with many other things in photography, the more you photograph this type of work, the better you’ll get at it. For me it’s very-rewarding, even if it does fill me with a sense of dread that should I ever remodel my own home, my standards will be incredibly high because of all the gorgeous homes I’ve visited!
Hopefully you enjoyed this post explaining how I photograph homes and living rooms specifically! You can purchase the gear besties mentioned in this post from my Amazon Storefront.
Meanwhile, go take some pics and if that’s not really your thing, take a nap, and don’t forget to watch the video on this topic over on YouTube!