
Best Camera Settings for Real Estate Photography

As with many settings, these are kind of my home base and might adjust slightly based on lighting and circumstances, but for the most part, this is where my settings live. Every photographer might have slightly different preferences, but overall, these settings allow me to get the shots that I want and have worked really well for me.
— Disclosure: I may receive a commission from purchases made via the links in this post. —
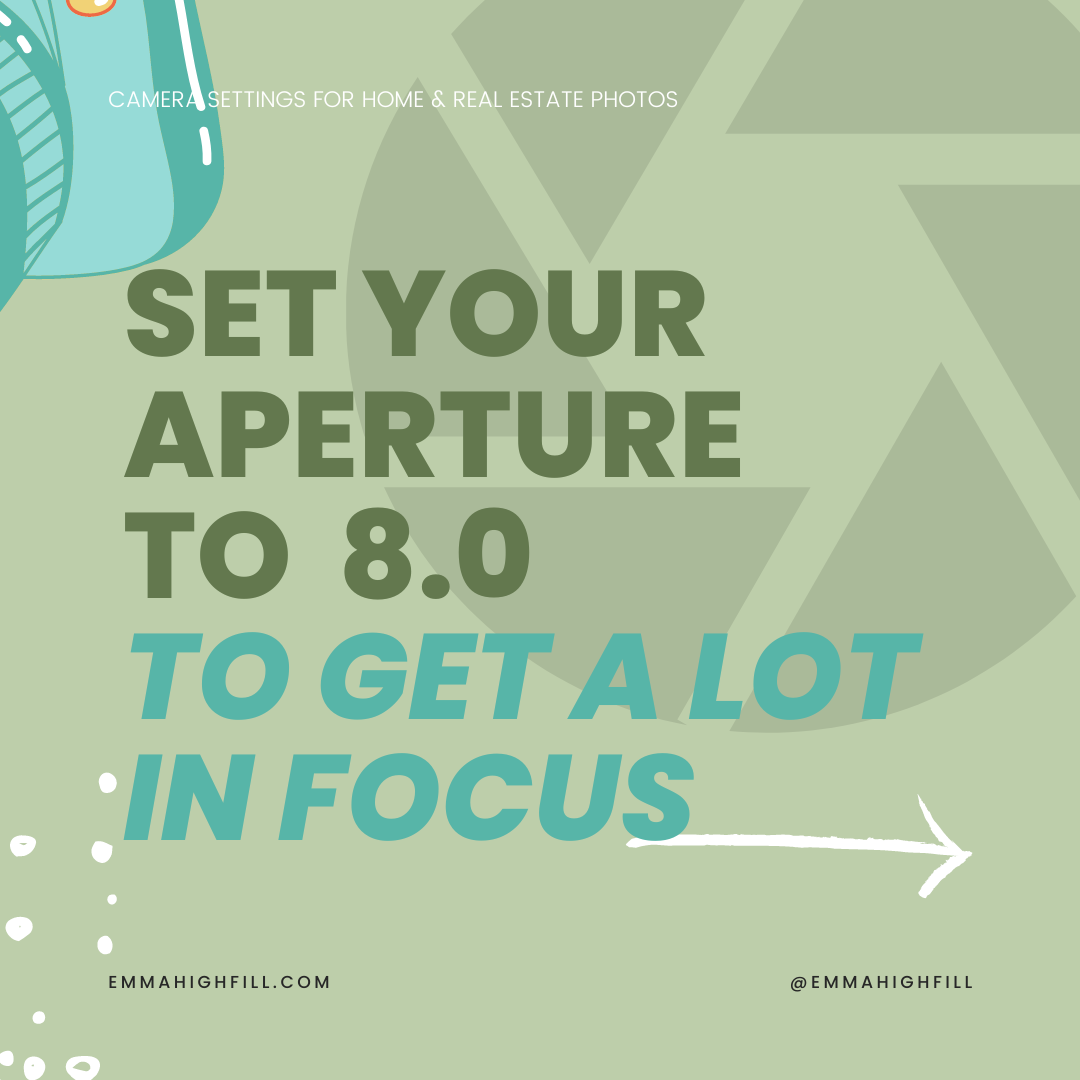
Aperture: 8.0
I use this aperture to get most of the photo in focus since designers typically want to highlight all of the details in a space, as opposed to focusing on one thing and having the rest of the background/foreground out of focus.
ISO: 400
I use this ISO because it has low grain. I could use ISO 200 or 100, but the lower my ISO, the slower my shutter speed has to be, and even though I’m using a tripod, I’m often not fond of waiting extra long for my camera to take a photo.
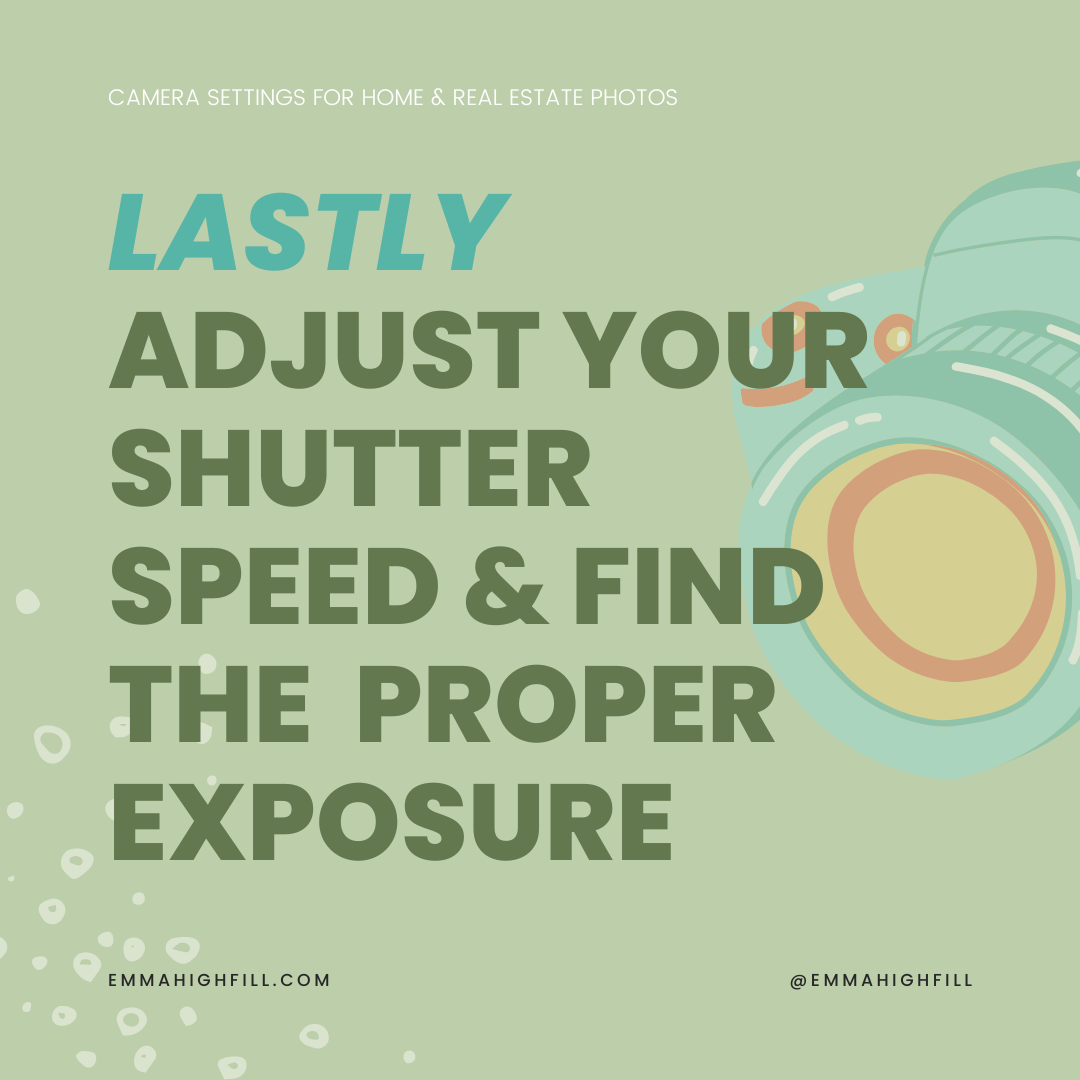
Shutter Speed: Varies
After I’ve adjusted the aperture and ISO, I then find the shutter speed that creates a proper exposure. Due to the high aperture, this typically means I’ll have a very low shutter speed and will have to use a tripod, but it makes for the dreamiest natural light photos!


Head to my Amazon Storefront to purchase my go-to gear for real estate photography, and be sure to head to YouTube to watch my video unpacking my complete photography process on this topic.